Select Page
small boat Building
Building Noosa
Video
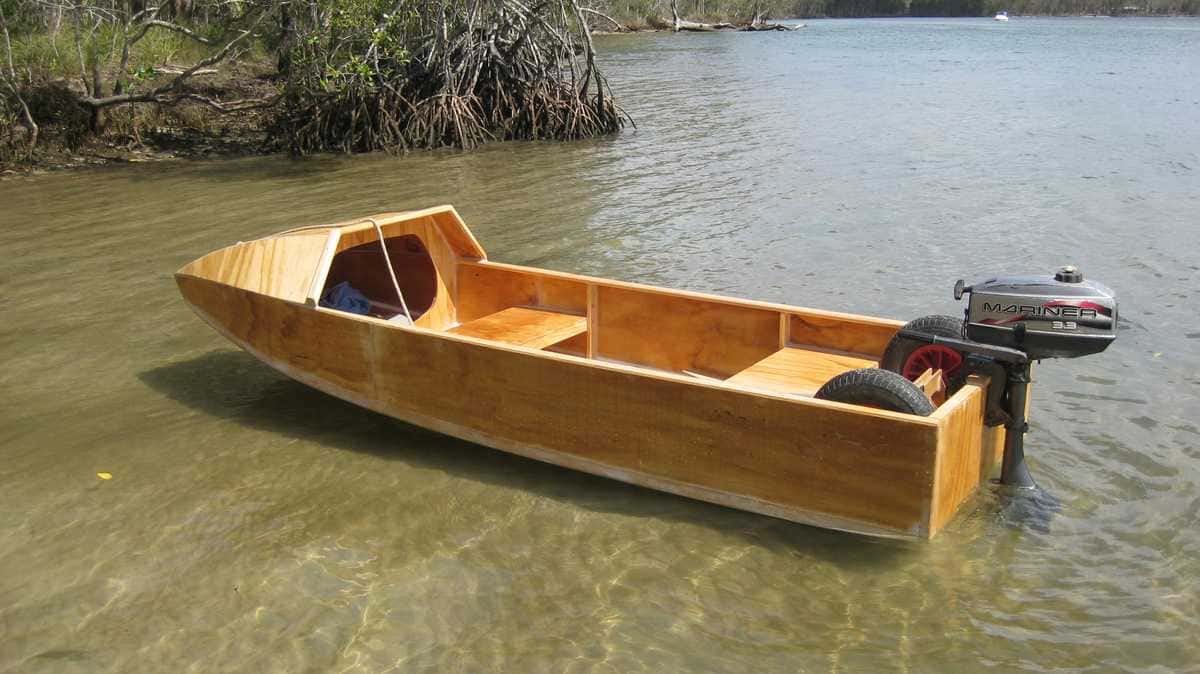
First day in the water
The finished boat, after one month of work
The beginning
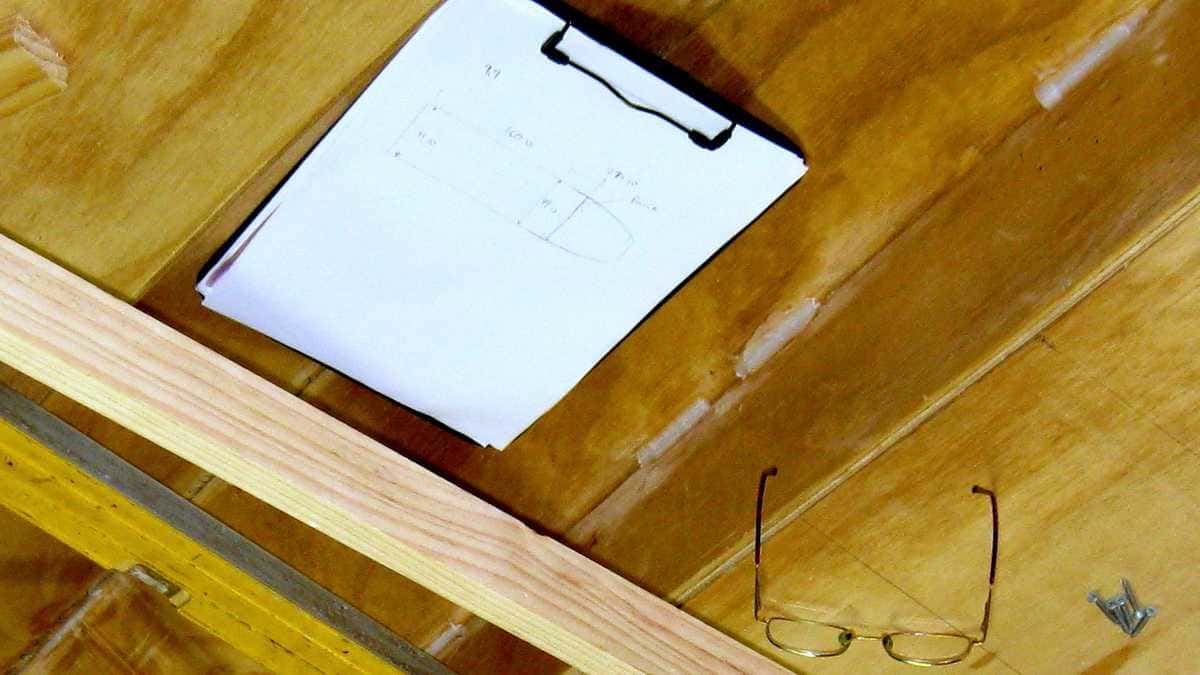
The boat started life as a sketch. With a tape measure, pencil and paper I sketched out different ideas, of how big and what shape this boat was going to be. Small enough to walk down the footpath, and fit in my shed. Big enough for the two of us and plenty of gear.
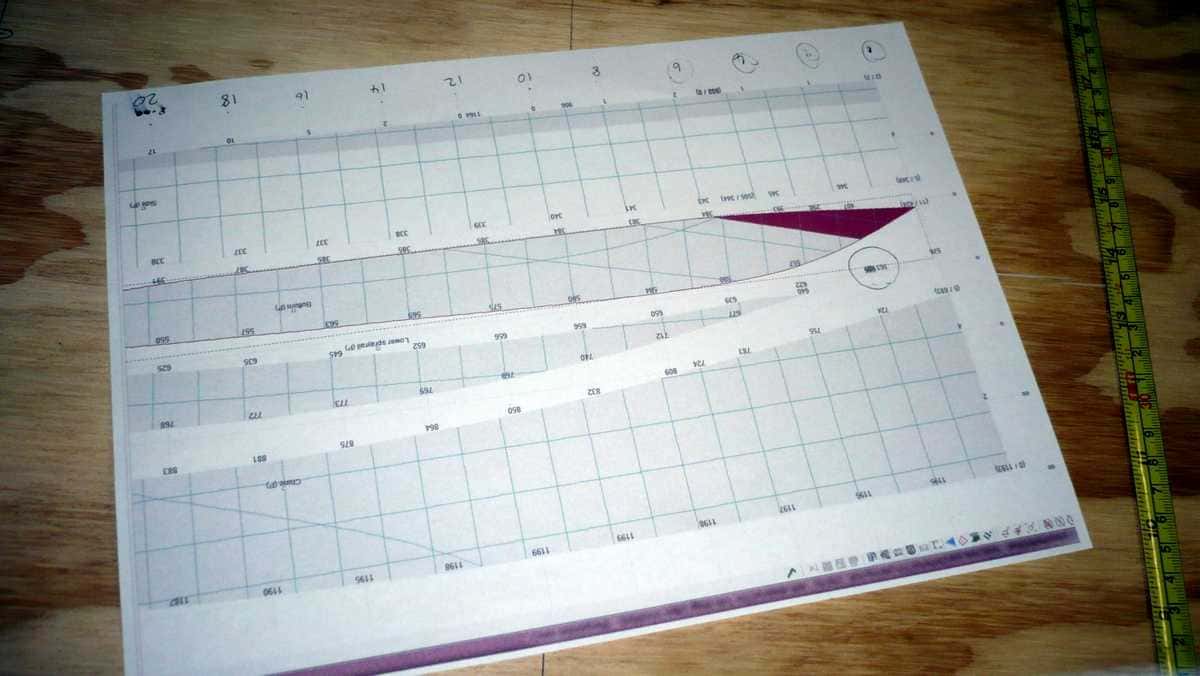
Designing the hull
Once I had the dimensions, I sat down on the computer. Using a free CAD program called Delftship, I design the hull in 3D. With this program, I could “unfold” the plywood panels that made up the hull and use the dimensions to mark out the hull panels, onto the plywood.
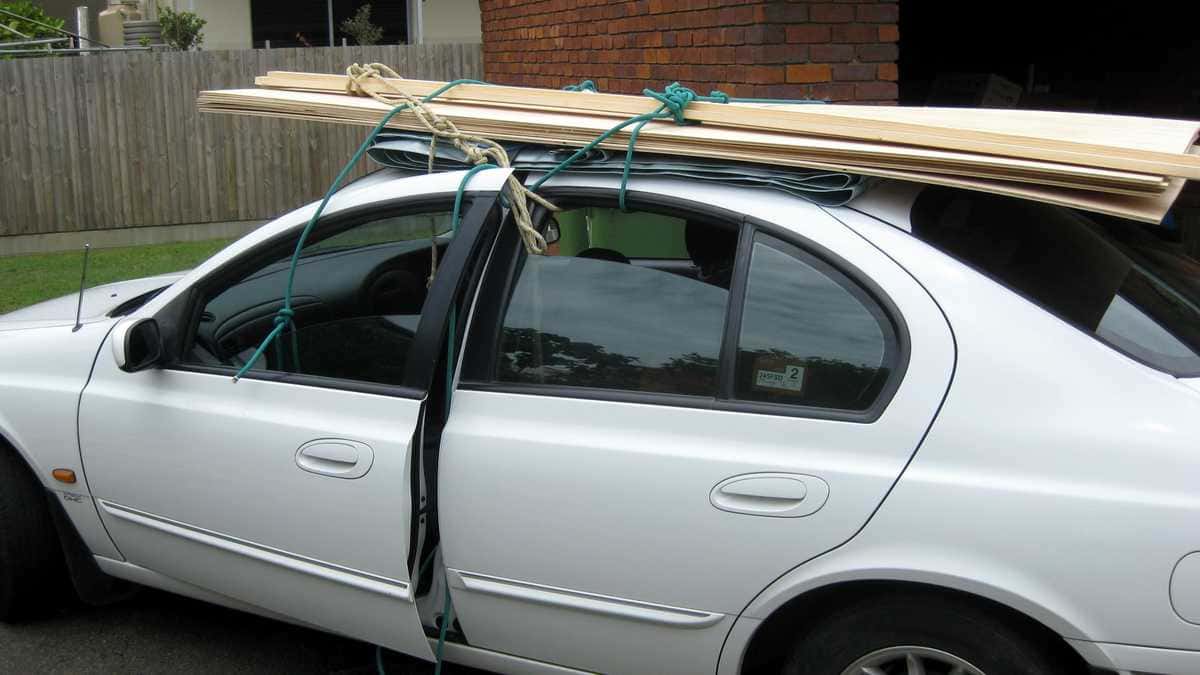
Getting the materials home
I didn’t need much in the way of materials for this boat. Five sheets of plywood, epoxy resin, some filler and a little fibreglass tape. Basic hand tools and a few power tools. We only had a one-car garage to work in, but that was plenty of room for the job.
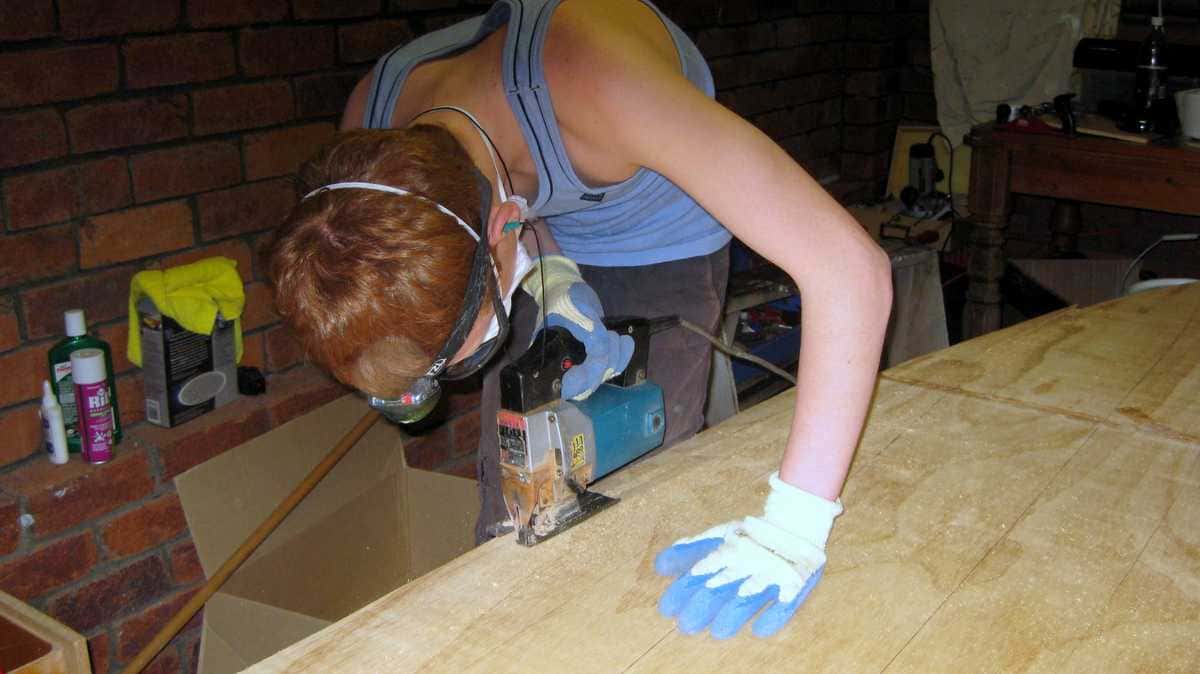
Cutting out the pieces
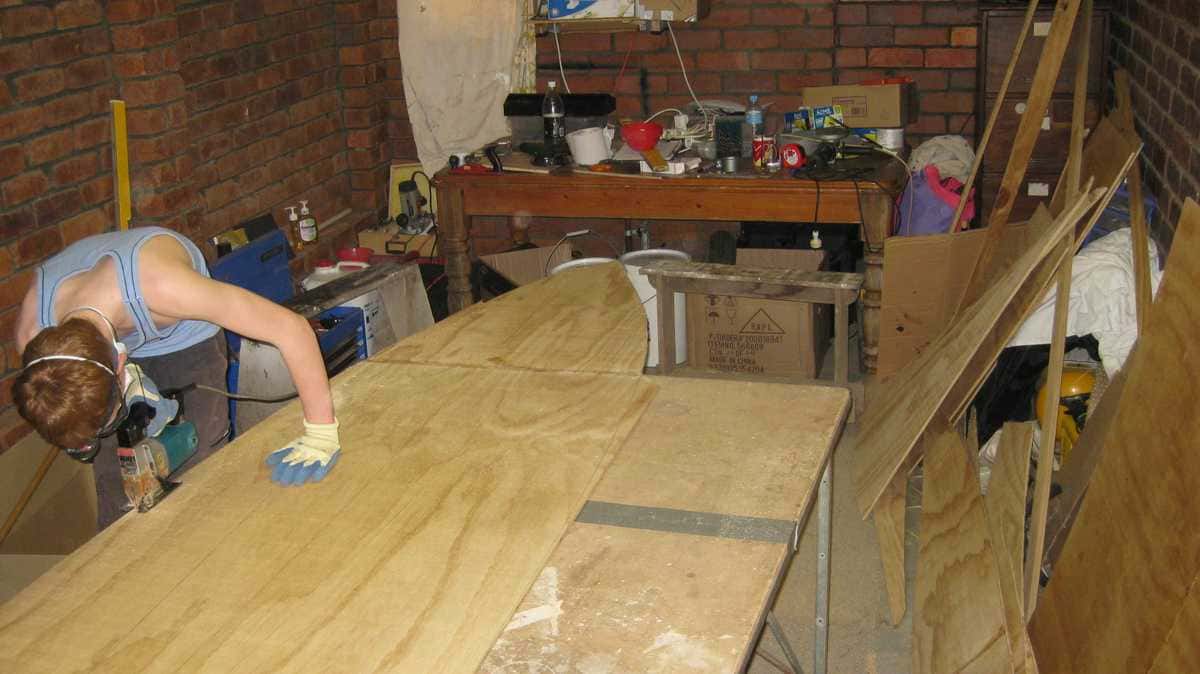
The hull is made from 6mm plywood. As the length of the boat was longer than a sheet of plywood I had to scarf 2 sheets together, lengthwise, before cutting out the hull panels. You can see the scarf join, inline with the end of the table, to the right of Tobi.
Bringing the panels together
Once Tobi had cut the pieces of ply, I brought them together around the temporary forward frame and the transom at the back of the boat. The hull quickly takes shape.
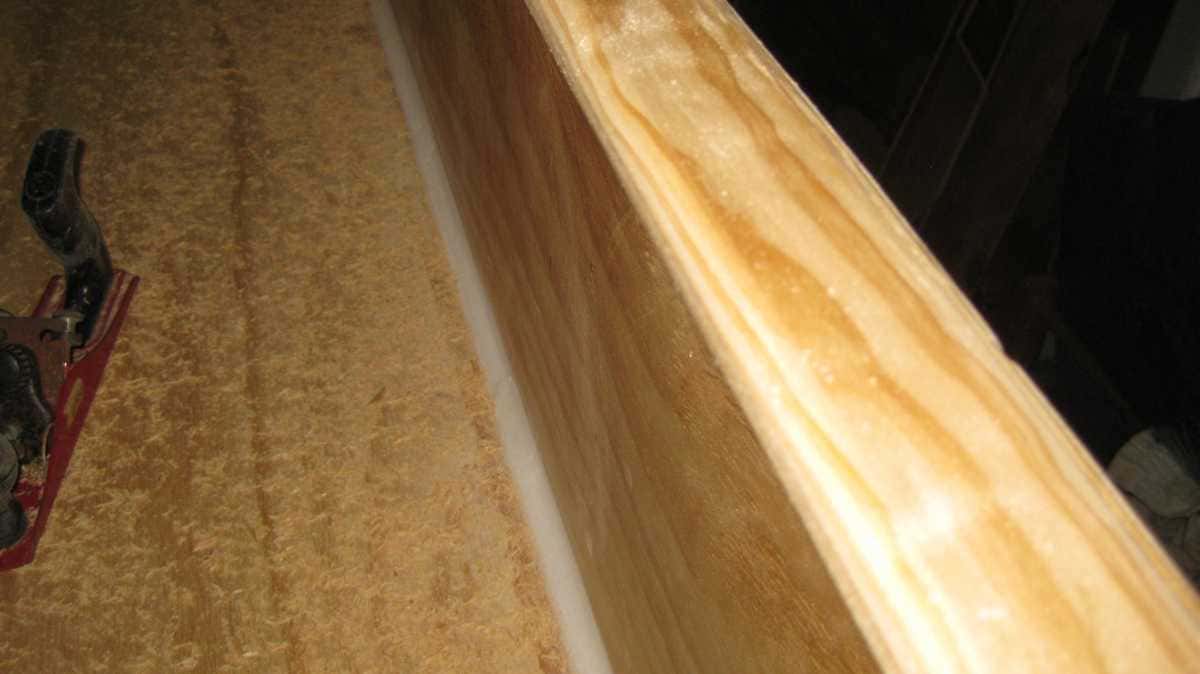
Filleting the inside corners
Once the wood was all “tack welded” together I could take out the screws and run fillets of epoxy all the way around all the internal edges “welding” the wood together.

Applying the fibreglass tape
The outside edges of the plywood joins are rounded over and sanded smooth, then fibreglass tape is applied.
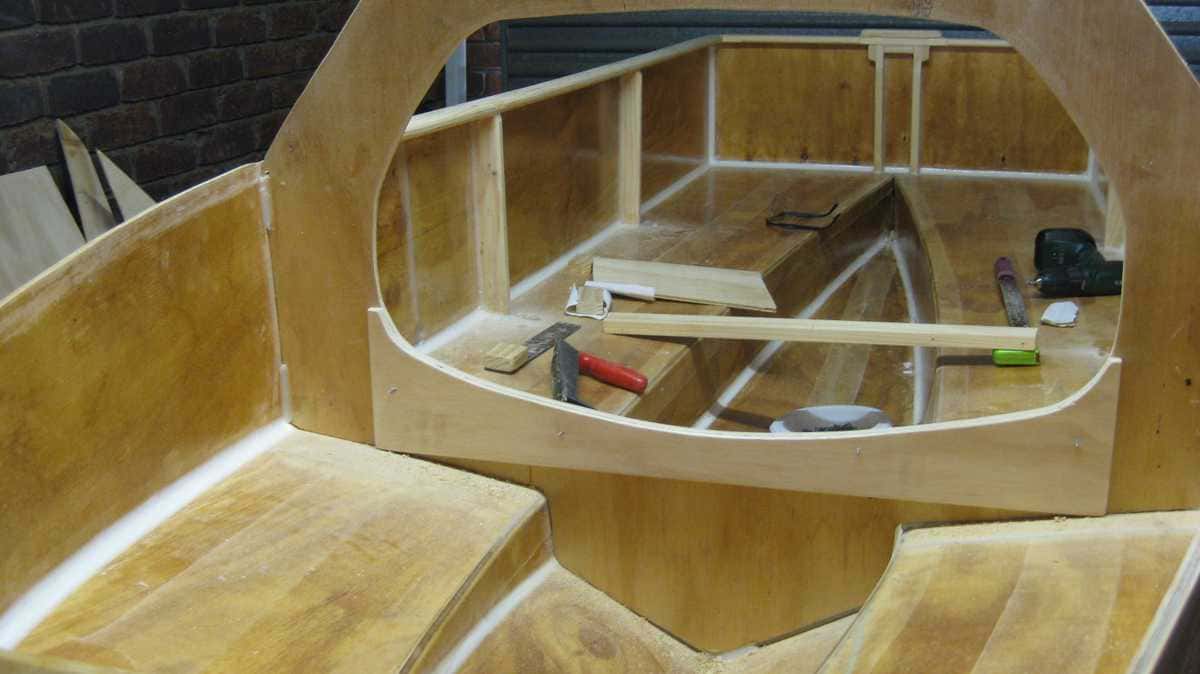
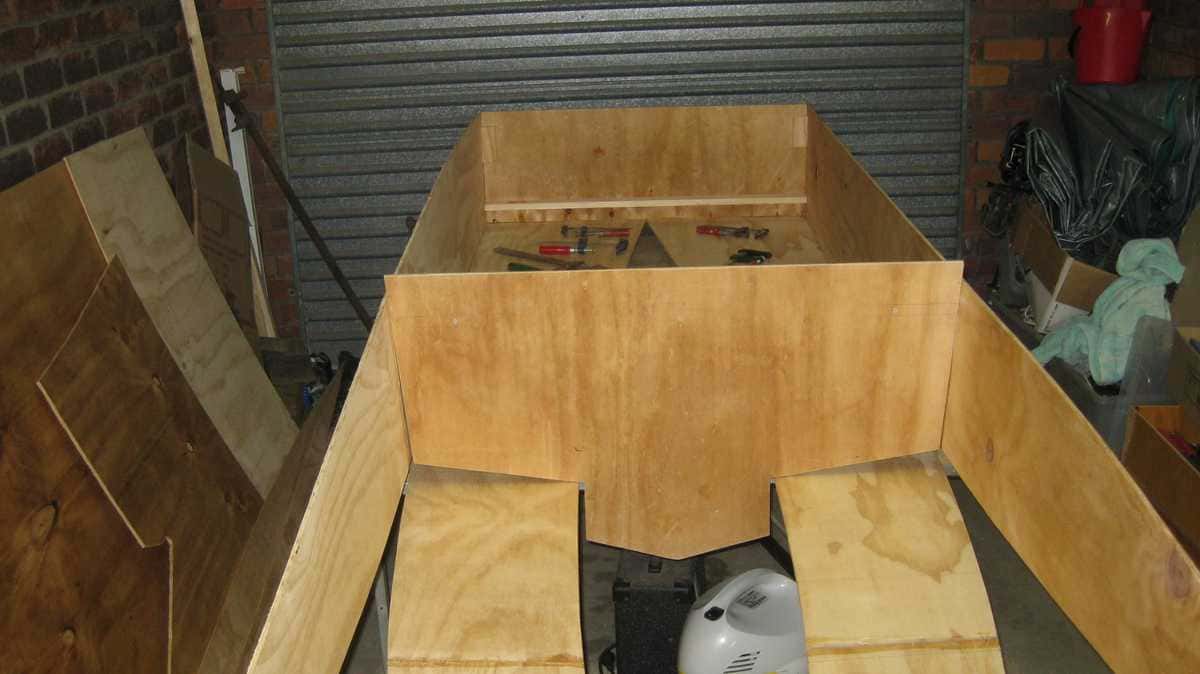
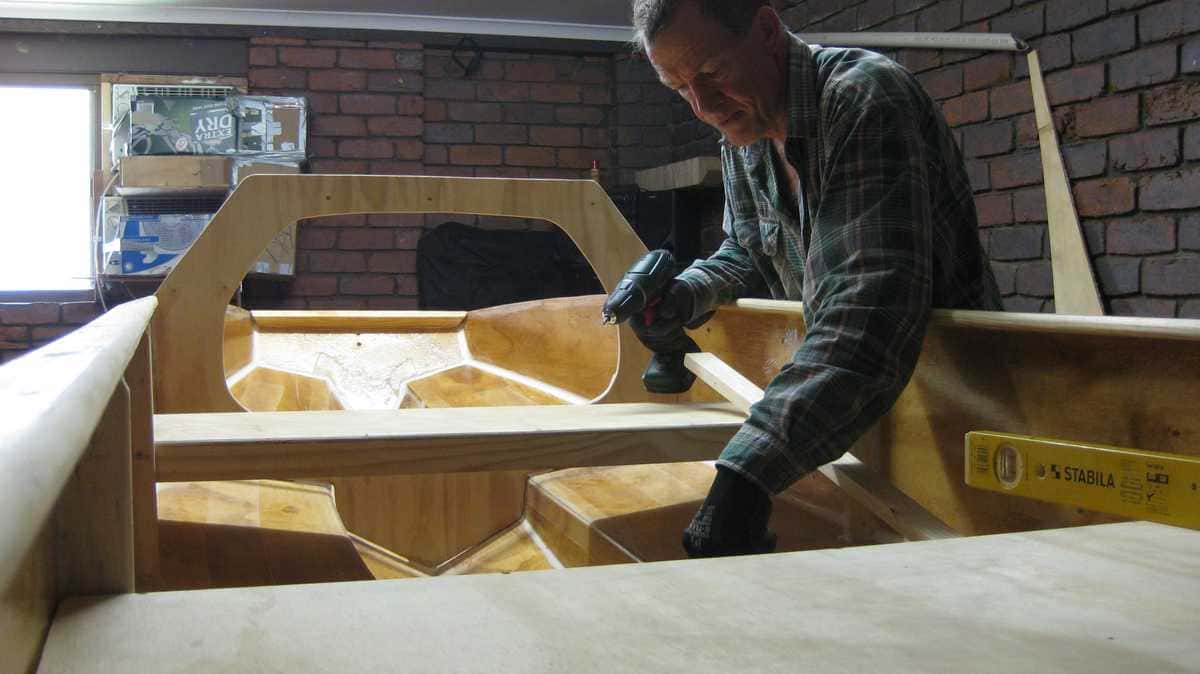
Adding the framing
I replaced the temporary forward frame with the real one. This was again spot glued in place then filleted later. I added the handrails, and vertical frames to stiffen the sides.

Adding the bonnet
I prefabricated the bonnet and bonded it to the boat afterwards. I also added a grab rail out of pine, around its rear edge, to hang on to when underway. The bonnet is something I design into all my small powerboats. It gives protection, dry storage, a grab rail and something to lean back against when you are fishing or enjoying a beer.
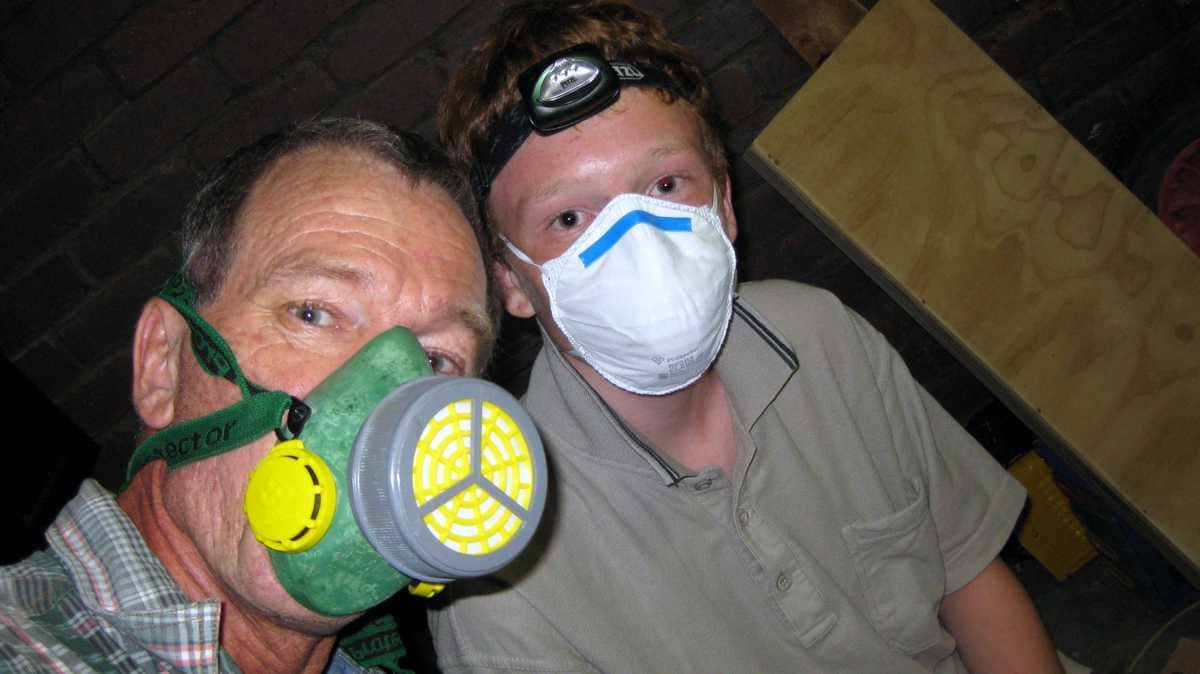
The chemical brothers…

A proud moment
Tobi, with our pride and joy.

Heading to the water
Walking to the water, with the wheels underneath. This system works great, it is easy to pull and once in the water, the wheels go with you.

Turning heads
A great way to meet people. I am always impressed at the attention one gets, when out on the water or walking down the street, with a homemade boat.
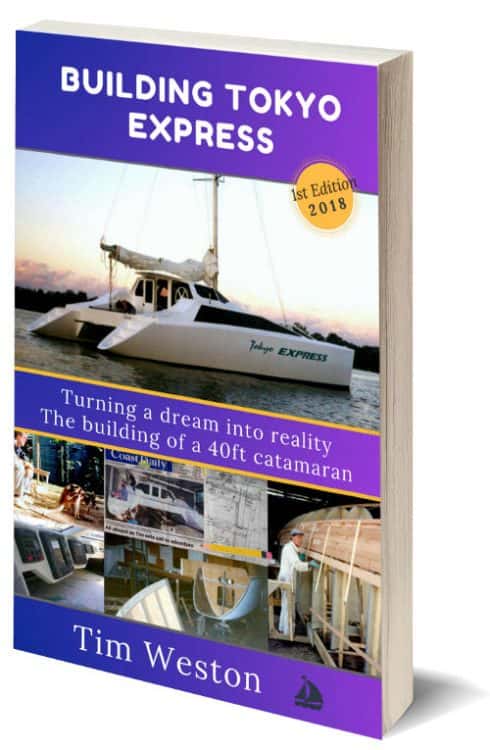
New Book – just released

Watch the Video Series – (1 hour & 45 mins)
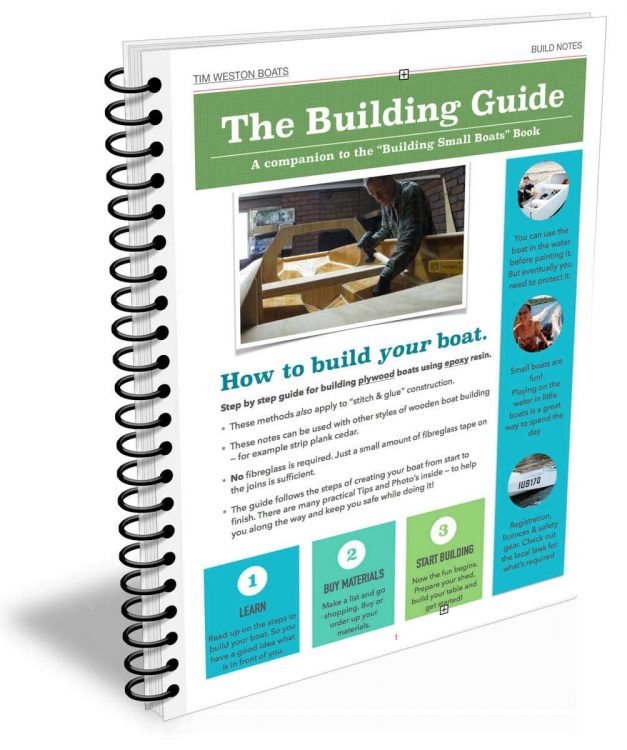
Get the Guide – Free
Tim Weston Boats
2022©timwestonboats.com